Are you looking for an easy way to monitor your blood pressure and get notified of any concerning changes? In this blog post, I’ll show you how you can build a simple blood pressure tracking system using Salesforce Flow and custom notifications.
Why Build a Blood Pressure Tracker in Salesforce?
Salesforce is a powerful platform that goes far beyond its traditional use as a customer relationship management (CRM) tool. With the help of tools like Flow, you can build all sorts of custom applications and automate various business processes.
Building a blood pressure tracker in Salesforce has several advantages:
- Centralized Data Storage: All your blood pressure readings and related information will be stored securely within your Salesforce org, making it easy to access and analyze.
- Automation and Notifications: You can set up automated workflows to log your blood pressure readings and receive custom notifications if your readings fall outside of a healthy range.
- Portability: Since Salesforce is a cloud-based platform, you can access your blood pressure data from anywhere, on any device.
- Customization: The flexibility of Salesforce allows you to tailor the tracker to your specific needs and preferences.
How to Build the Blood Pressure Tracker
To get started, you’ll need to have a Salesforce org and some basic knowledge of Salesforce Flow. If you’re new to Flow, don’t worry – I’ll guide you through the process step-by-step.
Step 1: Create a Custom Object for Blood Pressure Readings
First, we need to create a custom object in Salesforce to store your blood pressure data. This object will have fields for the systolic and diastolic readings, as well as the date and time of the reading.
- Go to Setup > Objects and Fields > Object Manager.
- Click Create > Custom Object.
- Name the object “Blood Pressure Reading” and fill out the other details as needed.
- Create the following fields:
- Systolic (Number)
- Diastolic (Number)
- Reading Date (Date/Time)
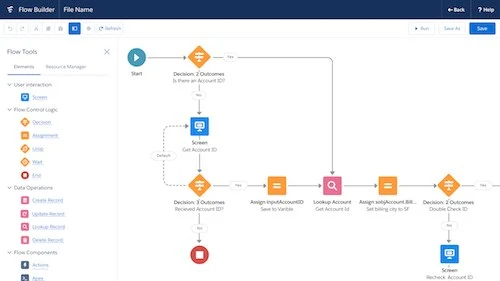
Step 2: Build the Blood Pressure Tracking Flow
Now, let’s create a Salesforce Flow to automate the process of logging your blood pressure readings and triggering notifications.
- Go to Setup > Flows.
- Click New Flow and select “Record-Triggered Flow”.
- Choose the “Blood Pressure Reading” object as the trigger object.
- Add the following elements to your Flow:
- Create Records: This will create a new “Blood Pressure Reading” record with the values entered.
- Decision: This will check if the systolic or diastolic reading is outside of a healthy range (e.g., systolic > 130 or diastolic > 85).
- Send Custom Notification: If the readings are outside the healthy range, this will send a custom notification to your Salesforce mobile app or email.
Step 3: Test and Customize the Flow
Test your Flow by creating a new “Blood Pressure Reading” record and ensuring that the data is properly logged and the notifications are working as expected. You can also customize the Flow further by adding additional logic, such as historical trend analysis or integration with other Salesforce features.
Conclusion
By combining the power of Salesforce Flow and custom notifications, you can create a robust blood pressure tracker that allows users to record their readings and receive personalized alerts. This blog post has provided a step-by-step guide to building such a solution. Remember to iterate and refine your blood pressure tracker based on user feedback to ensure it meets your specific requirements. With Salesforce’s declarative tools, you can empower users to take control of their health and well-being.