I understand the importance of effectively managing picklist values based on record types within the Salesforce platform. In this comprehensive guide, we will provide you with a step-by-step approach to show picklist values by record type in Screen Flow. By following this guide, you will be able to enhance your Salesforce configuration and streamline your business processes.
Prerequisites
Before we dive into the process of showing picklist values by record type in Screen Flow, it is essential to ensure that you meet the following prerequisites:
- Access to Salesforce Administrator privileges.
- Familiarity with Salesforce setup and configuration.
- Basic understanding of record types and picklist fields within Salesforce.
Step 1: Define Record Types
The first step in displaying picklist values by record type in Screen Flow is to define the necessary record types. Record types allow you to categorize and differentiate data within your Salesforce org. To create a new record type, follow these instructions:
- Log in to your Salesforce org with Administrator privileges.
- Navigate to the Object Manager by clicking on the gear icon in the top-right corner and selecting “Setup.”
- In the left-hand sidebar, under “Platform Tools,” select “Objects and Fields” and click on “Object Manager.”
- Choose the relevant object for which you want to show picklist values by record type.
- Under the “Record Types” section, click on “New Record Type.”
- Follow the prompts to provide a label, name, and description for the new record type.
- Save the record type once you have filled in the necessary details.

Step 2: Configure Picklist Fields
Once you have defined the record types, the next step is to configure the picklist fields associated with each record type. Picklist fields allow users to select predefined values from a list. To configure picklist fields, follow these instructions:
- Within the Object Manager, select the relevant object.
- Under the “Fields & Relationships” section, click on the field for which you want to configure picklist values.
- In the field detail page, scroll down to the “Picklist Values” section.
- Click on “New” to add a new picklist value.
- Provide a label and value for the picklist option.
- Repeat the process to add all the required picklist values.
- Once you have added all the picklist values, click on “Save.”

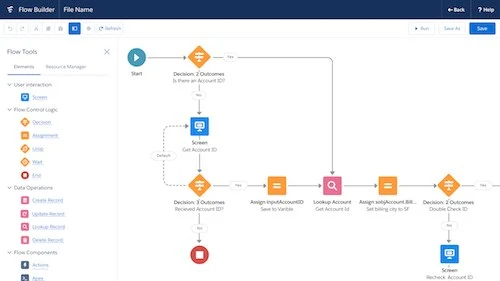
Step 3: Create a Screen Flow
After configuring the picklist fields, it’s time to create a Screen Flow to display the picklist values based on the record type. Screen Flows allow you to guide users through a series of screens to capture and display data. To create a Screen Flow, follow these instructions:
- Select Setup
- Search for flows in quick find and click on flows
- Choose “Screen Flow” as the action type and provide a name for the flow.
- Click on “Next” and select the screen layout that suits your requirements.
- On the screen designer, drag and drop the necessary components, such as input fields and picklists, onto the screen.
- Configure the picklist component to display the desired picklist field.
- To filter the picklist values based on the record type, click on the picklist component and go to the “Display & Behavior” tab.
- Under the “Picklist Options” section, select the relevant recordtype field from the “Record Type Field” dropdown menu.
- Save the Screen Flow once you have completed the configuration.

Step 4: Assign the Screen Flow to Page Layouts
To ensure that the Screen Flow is visible and accessible within your Salesforce org, you need to assign it to the appropriate page layouts. Page layouts define the arrangement of fields, related lists, and custom links on an object’s record detail and edit pages. Follow these instructions to assign the Screen Flow to page layouts:
- In the Object Manager, select the relevant object.
- Under the “Page Layouts” section, click on the page layout you want to modify.
- In the page layout editor, scroll down to the “Visualforce Pages” or “Lightning Pages” section, depending on your Salesforce setup.
- Drag and drop the Screen Flow component onto the desired location within the page layout.
- Save the page layout to apply the changes.
Step 5: Test and Validate
Now that you have completed the configuration and assignment of the Screen Flow, it is crucial to test and validate the implementation. Follow these steps to ensure that the picklist values are displayed correctly based on the record type:
- Navigate to a record of the object for which you configured the Screen Flow.
- Verify that the picklist component is displayed on the record detail or edit page.
- Select different record types and observe the changes in the picklist values.
- Ensure that only the relevant picklist values are displayed based on the selected record type.
- Make any necessary adjustments or refinements to the configuration if required.
Congratulations! You have successfully learned how to show picklist values by record type in Screen Flow within Salesforce. By following the steps outlined in this guide, you can ensure that your users have a seamless experience while selecting picklist values based on specific record types. This enhanced functionality will streamline your business processes and improve overall user satisfaction.
Remember to regularly review and update your record types and picklist values as your business requirements evolve. Continuously optimizing your Salesforce configuration will help you stay ahead and make the most out of this powerful platform.
graph LR
A[Define Record Types] --> B[Configure Picklist Fields]
B --> C[Create a Screen Flow]
C --> D[Assign the Screen Flow to Page Layouts]
D --> E[Test and Validate]
Now go ahead and implement these steps to show picklist values by record type in Screen Flow, and enjoy the benefits of a more tailored and efficient Salesforce experience!